Alright, let's talk about the gear. Before you even dream of snapping the first photo, you have to get your equipment sorted out. This isn't just a shopping list; it's the very foundation of a smooth, professional photo booth that'll have guests lining up. A little organization upfront is the secret to a flawless experience from start to finish.
And trust me, the demand for a good photo booth is huge. The global market hit around USD 818.2 million in 2024, and it's only going up. The gear and software make up over 75% of that market, which just goes to show how critical it is to have a reliable, complete system.
Your Essential Photo Booth Gear Guide
Your setup is only as strong as its weakest link. Think of the core equipment as the absolute must-haves for a functional booth. Skimp on any of these, and you're setting yourself up for a frustrating night for both you and the guests.
The Core Components You Cannot Skip
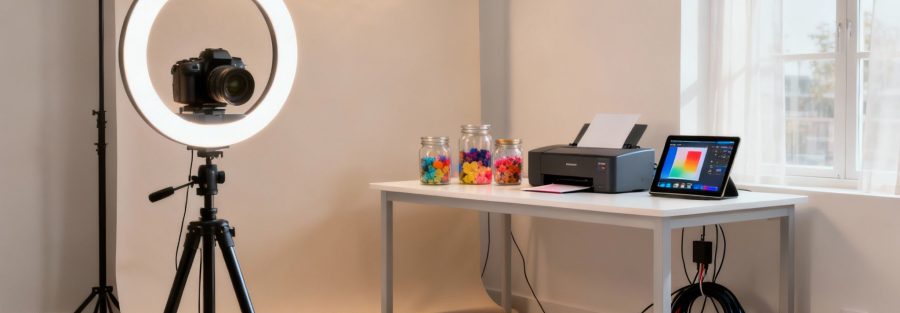
Here’s the stuff you absolutely need to get rolling:
- A Solid Camera: This is the heart of your operation. Whether you go with a top-notch DSLR or a newer iPad, this choice dictates the final image quality.
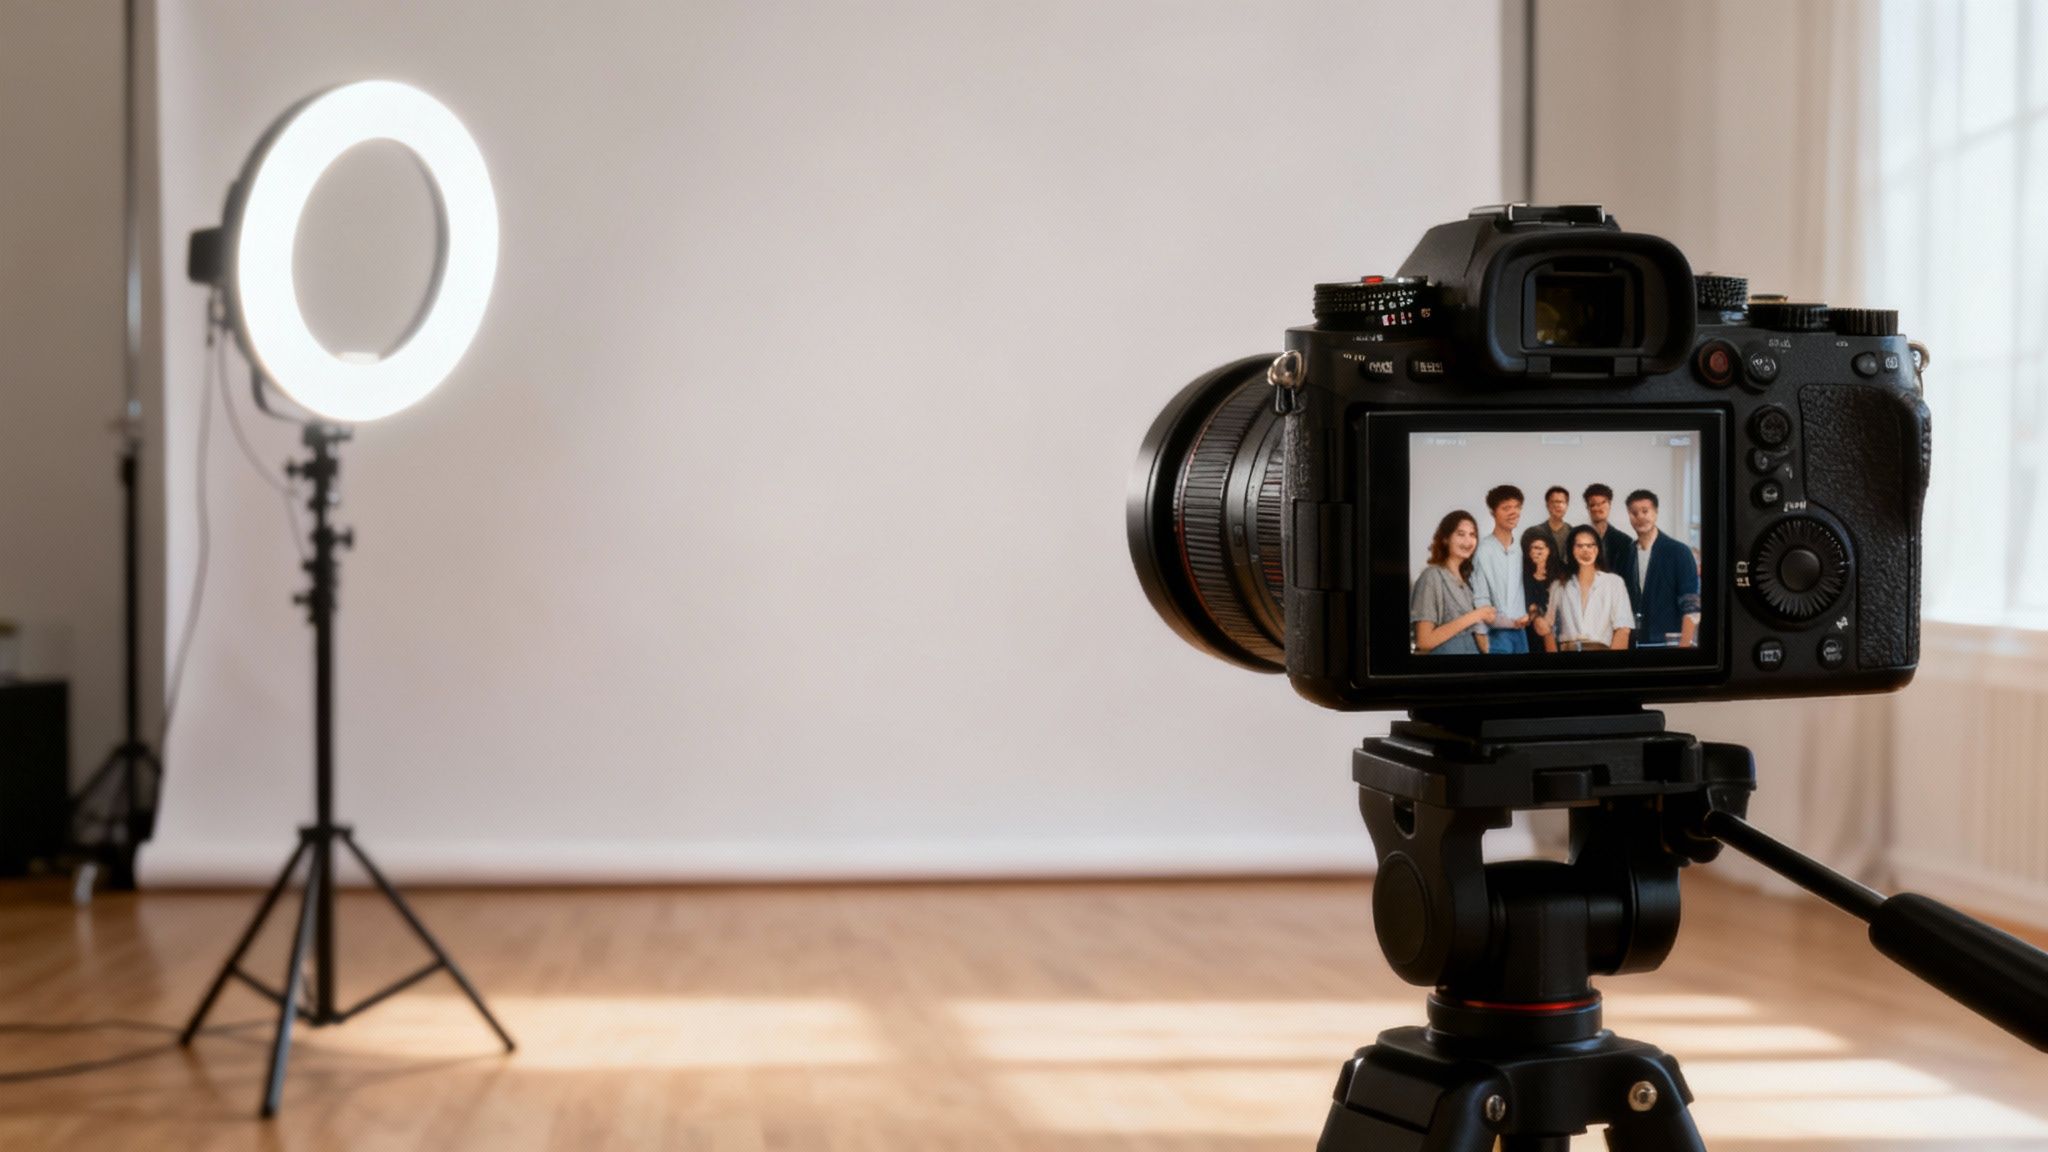
- Consistent Lighting: Good lighting is the magic wand that turns amateur snapshots into professional-looking portraits. A ring light or a softbox is a non-negotiable for killing harsh shadows.
- A Sturdy Backdrop and Stand: This sets the scene and gives you a clean, non-distracting background. Make sure the stand is beefy enough to handle a crowded, high-energy event.
- A User Interface (Tablet/Laptop): Guests need an obvious, simple way to start the fun. A tablet running photo booth software is pretty much the industry standard for a reason.
- Reliable Software: This is the brains of the whole setup. It runs everything—from the countdown and taking the picture to printing it out and letting guests share it online.
Pro Tip: I can't stress this enough: always bring more power than you think you'll need. A high-quality surge protector and a bunch of extension cords in different lengths have saved me more times than I can count. You never know where the venue's outlets will be, and a tripped breaker can shut down your entire operation.
Upgrading From Basic to Better
Once you've mastered the essentials, you can start thinking about upgrades that kick the guest experience up a notch and seriously improve your final product. These aren't mandatory to get started, but they're what separate the hobbyists from the pros.
For a really deep dive on camera options, check out our guide on choosing the best camera for a photo booth.
If you want to build out your kit even further, it's always smart to review resources like a complete guide to photography equipment for beginners.
To make it simple, here’s a quick look at how you can scale your gear from a good, basic setup to something even better.
Essential Photo Booth Equipment Breakdown
| Component | Basic Setup (Good) | Advanced Setup (Better) |
|---|---|---|
| Camera | iPad or high-end webcam | DSLR or Mirrorless Camera |
| Lighting | Single ring light | Multiple softboxes or a beauty dish for even lighting |
| Printer | Optional (digital sharing only) | Professional dye-sublimation printer for instant prints |
| Props | A small box of generic hats and signs | Curated props matching the event theme; custom signs |
| Unsung Heroes | A single power strip | Surge protector, gaffer tape, extra batteries, sandbags |
This table gives you a clear roadmap. Start with the basics, get comfortable, and then invest in the "better" column as you grow your business and take on bigger events.
Assembling Your Core Photo Booth Equipment
Alright, you've got your gear list sorted. Now for the fun part: bringing it all together. This is where your plan starts to take shape and you can see the photo booth experience come to life. Getting the assembly right is the difference between a wobbly, frustrating setup and a rock-solid, professional booth that runs without a hitch all night.
Think of this as more than just plugging things in. You're building a stable, safe, and genuinely inviting space for guests. Nailing this step means your equipment is secure, and more importantly, every single photo will look amazing.
This image lays out the basic workflow, showing how each piece of essential gear builds on the last.
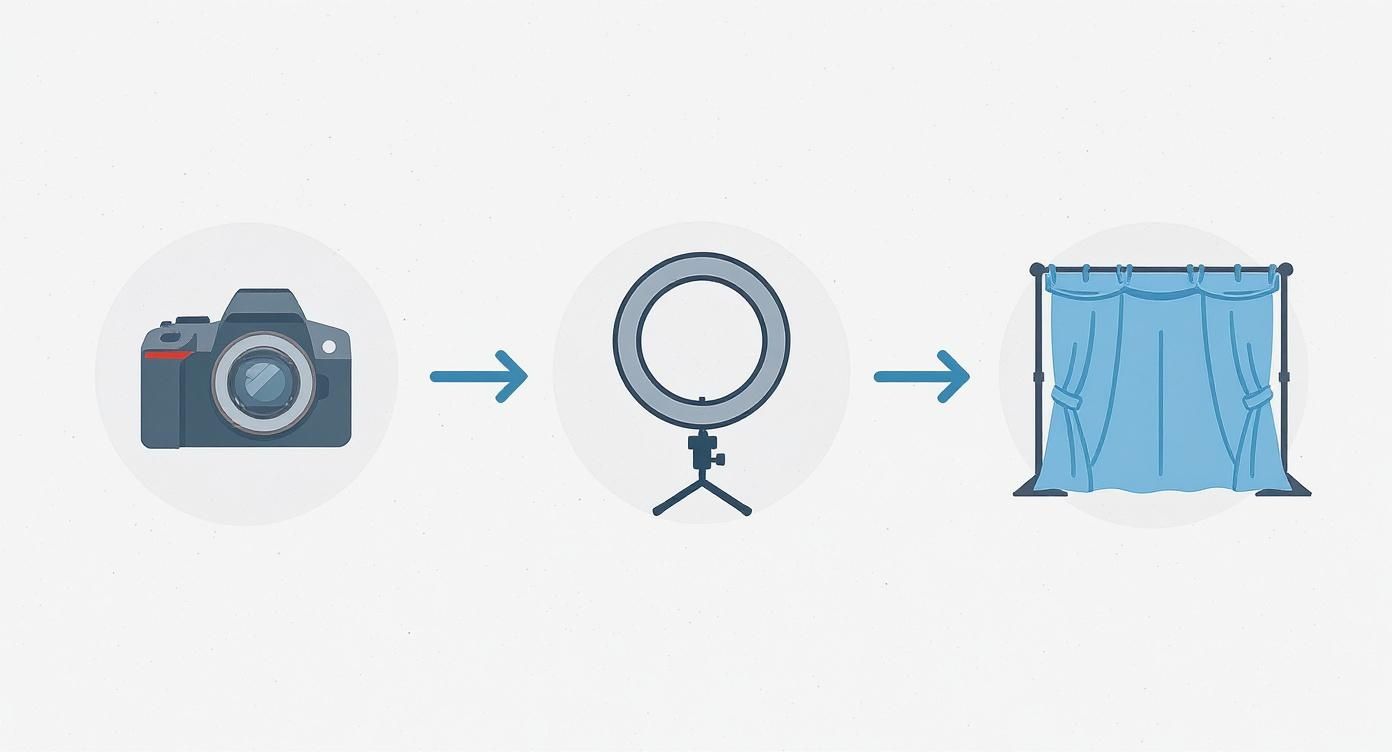
It’s a logical progression—get one component set, then move to the next. This keeps things simple and prevents you from having to backtrack.
Camera and Interface First
The camera and tablet are the heart and brain of your entire operation, so let's get them mounted first. Securely attach your DSLR or iPad to its stand or inside the booth shell. Double-check every clamp and bracket. You want it tight. Any wobble or slip can completely ruin a shot.
With the camera in place, connect it to your tablet or laptop. Most of the time this will be a simple USB cable, though some newer setups are wireless. Power everything up and launch your photo booth software right away. Confirming that the camera and software are talking to each other now will save you from a major headache later on.
Positioning Your Lighting for Flattering Photos
Lighting is what elevates a photo from just "good" to "great." The mission here is to create soft, even light that kills harsh shadows and makes everyone look fantastic. For most, a ring light is the perfect tool for the job because it wraps the subject in flattering light from the same axis as the lens.
Place your main light—whether it’s a ring light or a softbox—directly in front of where your guests will stand, positioned roughly at head height. If you're only using one light, this centered placement is absolutely critical. For more complex setups, you can add lights at 45-degree angles to carve out your subjects and add a little more dimension.
Expert Insight: Here's a pro tip I learned the hard way: always aim your light slightly downward at your subjects. This copies the way natural sunlight falls and avoids those weird, unflattering shadows under people's noses and chins. It's a small adjustment that makes a huge difference.
Setting Up the Backdrop and Stands
The backdrop is the canvas for every memory you capture. Start by assembling the stand, making sure its legs are spread wide for a solid, stable base. I always extend the vertical poles to at least seven feet high so taller guests don't have to duck. Then, just raise the crossbar to its full width.
Next, carefully slide your backdrop onto the crossbar. If it's a fabric backdrop, take a minute to pull it taut and use clamps along the sides and top to get rid of any sagging or wrinkles. You want the bottom of the backdrop to just kiss the floor or pool slightly on it—this prevents any distracting gaps from showing up in your photos.
- Stability is Key: Don't skip the sandbags, especially if you're outdoors or on a slightly uneven floor. One good gust of wind or an overly enthusiastic guest bumping into a stand can topple the whole thing.
- Safety First: Tidy up your cables. Run them neatly along the floor and use gaffer tape to secure them down. This isn't just about looking professional; it's about preventing a serious tripping hazard.
This is also the perfect time to think about the overall vibe of your space. Don't be afraid to get creative and look for inspiration for a truly unique creative photo shoot booth that will get people talking.
There's a reason the photo booth rental industry is taking off, with an average annual growth of 11% over the last five years. A huge part of that is a 150% spike in demand for corporate events. With average rentals fetching between $600 and $1,000, a polished, well-built booth is an investment that pays for itself.
Connecting Your Software and Printer
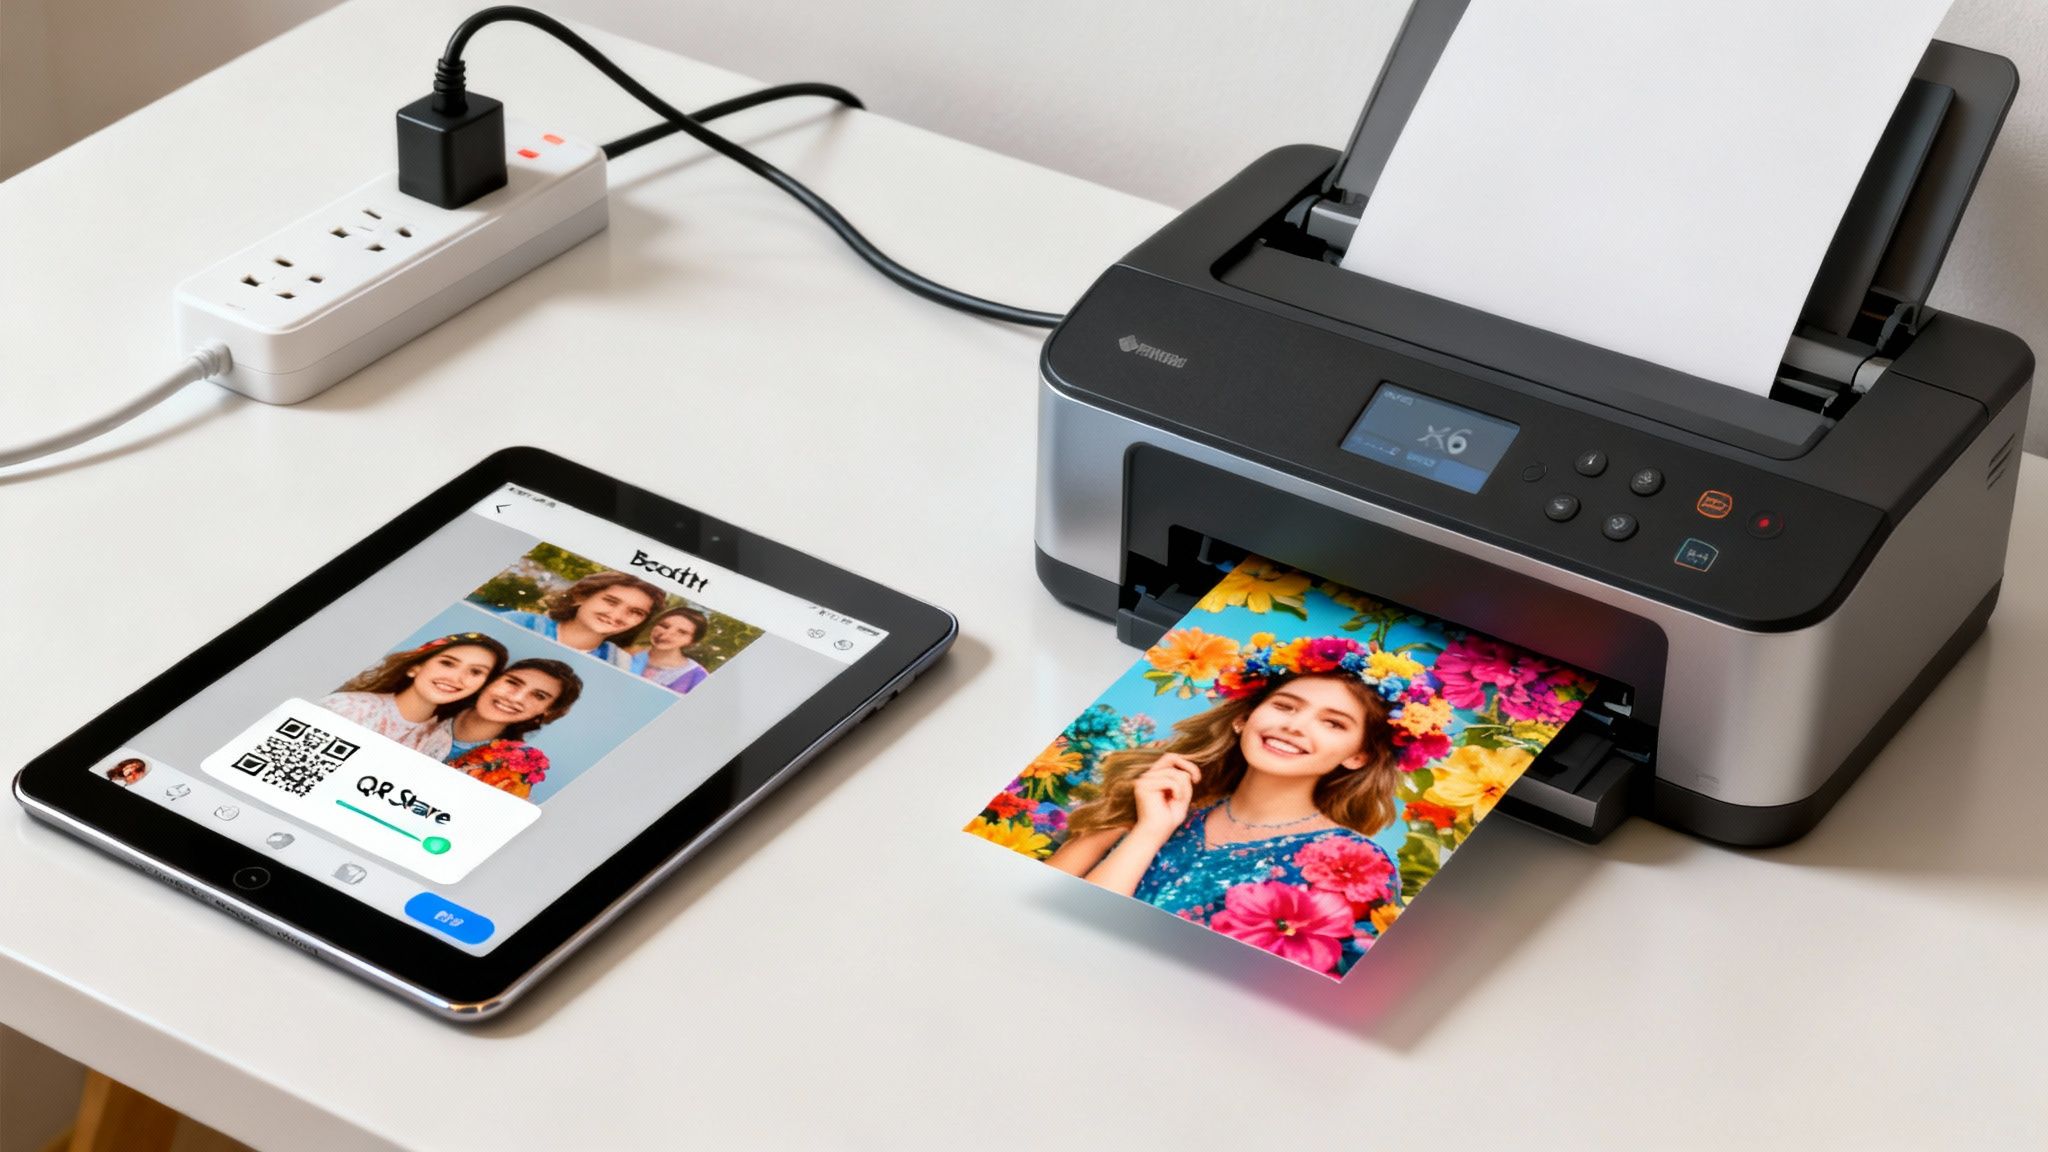
Alright, all your gear is in place. Now for the fun part—making it all talk to each other. This is where we connect the software (the brains) to the printer (the magic box that spits out memories). Getting this handshake right is what separates a clunky, frustrating experience from a seamless one that wows your clients and their guests.
Think about it: social media has completely changed the game. It's not just about a photo anymore; it's about sharing it instantly. In fact, a whopping 86% of people say they're likely to share photos from an event booth on their social media. That’s why features like instant SMS and QR code delivery aren't just cool—they're expected. If you're curious about the numbers, the latest photo booth industry statistics really highlight how central sharing has become.
Choosing and Configuring Your Photo Booth Software
Your software is the heart of the whole operation. It’s what your guests will interact with, what captures the images, and what sends them out into the world. You’ll find plenty of great options out there, like dslrBooth, LumaBooth, or Darkroom Booth, and honestly, the "best" one often just comes down to which interface you find the most intuitive.
First things first, get your software installed on your tablet or computer and connect it to your camera, usually with a simple USB cable. The software should automatically recognize your camera. If it doesn't, don't panic! Just check that your camera is set to the right mode (sometimes called "PC" or "Tether" mode) and that you've got the latest drivers.
Once they're talking, you can start customizing the experience for the event.
- Build Your Template: This is the custom frame that goes around the photos. I always get the event logo or monogram from the client ahead of time and design a template that matches their colors and theme. It's a small touch that makes a huge difference.
- Set Up Sharing: Turn on the sharing options your client asked for, like SMS, email, or QR codes. You can usually customize the message that goes with the photo—a perfect spot to drop in the event hashtag.
- Add the Fun Stuff: This is where you can really get creative. Think digital props, animated GIFs, or boomerangs. Some software even lets you do virtual backgrounds, which is a total game-changer. We dive deep into that in our guide to setting up a photo booth with a green screen.
Real-World Tip: I always pre-load the SMS message with something personal. Instead of a boring "Here is your photo," I'll write something like, "Thanks for celebrating with Jane & John! Here's your awesome picture. #SmithWedding2024." It feels more thoughtful and reinforces the branding of the event.
Calibrating Your Printer for Perfect Prints
For a lot of guests, nothing beats walking away with a real, physical print. In this business, dye-sublimation (dye-sub) printers are the gold standard. They're not like your home inkjet; they use heat to bond dye to special paper, creating prints that are vibrant, tough, and ready in seconds.
Getting the printer ready is pretty straightforward. You'll have a ribbon and a roll of paper that are made to work together—never mix and match media from different packs. Just pop open the printer, slide in the paper roll, and click the ribbon cartridge into place.
Next, connect the printer to your computer with a USB cable and install the drivers from the manufacturer's website. Seriously, don't skip this step. The drivers are what let your photo booth software actually control the printer.
Finally, you just need to tell your software how to print.
- Select Your Printer: Head into your software's print settings and choose your dye-sub printer from the dropdown menu.
- Choose the Paper Size: Make sure the software knows what size to print. For most events, this will be the standard 4×6 format.
- Align the Template: This is the most crucial part. Run a test print. You might notice your beautiful design is slightly off-center or has weird white borders. That's normal. Just use the software's margin or alignment tools to nudge it into place. It might take a few test prints to get it perfect, but that level of detail is what makes every single print look professional.
Dialing In Your Camera and Lighting
Alright, everything's plugged in and powered up. Now for the fun part—getting out of "auto" mode. This is where you transform a simple setup into a professional photo machine. Honestly, mastering your camera and lighting settings is the single biggest thing that separates a so-so photo booth from one that guests absolutely rave about.
The technical stuff—aperture, ISO, shutter speed—can sound a little scary, but it's pretty straightforward for a photo booth. We're going to nail down the settings that give you bright, tack-sharp, and flattering photos every single time.
Mastering the Exposure Triangle for Booths
You've probably heard photographers talk about the "exposure triangle." It's just a fancy term for how aperture, shutter speed, and ISO all play together. Think of it as a balancing act: when you change one, you often need to tweak another to keep the picture looking perfect.
- Aperture (f-stop): This is all about how much light the lens lets in, but for us, it's really about depth of field. A low f-stop (like f/2.8) gives you that blurry background look, but in a photo booth, that means the person in the back of the group will be out of focus. Not good.
- Shutter Speed: This controls how long the shutter is open. For a photo booth, you need it fast enough to freeze people mid-laugh so you don't get any blur. Simple as that.
- ISO: This is your camera's sensitivity to light. You want to keep this as low as you can. Cranking it up in a dark room might seem like a good idea, but it adds a grainy, "noisy" look to the photos.
Go-To Settings for Consistent Results
Every venue has different lighting, but I always start with the same baseline settings and adjust from there. The name of the game is getting crisp focus on everyone in the shot and stopping motion blur in its tracks.
If you really want to get into the nitty-gritty of lighting, our guide on photo booth lighting setup is a great next read.
But for now, here are the settings I use for almost every indoor event:
- Switch to Manual Mode (M): First things first, take control. This locks everything in place.
- Set Your Aperture: I live in the f/8 to f/11 range. This gives you a deep depth of field, which is key for getting everyone sharp, from the front row to the back.
- Dial in Shutter Speed: 1/125s is the sweet spot. It's fast enough to freeze motion but slow enough that you don't need a ridiculously powerful flash.
- Keep ISO Low: Start at ISO 100 or 200. The only time you should ever raise this is if your flash is at full power and the pictures are still a bit dark.
My Personal Pro Tip: Use manual focus. Don't let the camera guess. Once you have your booth placement figured out, have a person stand where the guests will be and lock your focus on them. Turn off autofocus. This guarantees every photo is sharp and stops the camera from "hunting" for focus, which really speeds things up.
Achieving Perfect Color and Skin Tones
Ever see indoor photos that look all yellow or blue? That's a white balance problem. Getting this right is crucial for making skin tones look natural and not like something out of a sci-fi movie.
Forget "Auto White Balance" (AWB). It's too unpredictable. Instead, find the preset that matches your lights. If you're using a flash or strobe, the "Flash" setting is your best bet. For absolute perfection, you can use a gray card to set a custom white balance.
Learning to adapt to different environments is a huge part of the job. You can dig deeper with these essential photography lighting tips to get comfortable with any situation.
Final Checks for a Flawless Event
https://www.youtube.com/embed/F-8NOzcSngo
Alright, the gear is assembled, the software is humming, and you've got your settings dialed in. You're on the home stretch, but this last part is what separates the pros from the amateurs. These final checks are your safety net, your last line of defense to make sure everything is perfect before the first guest even thinks about striking a pose.
Skipping this part is like a chef sending out a dish without tasting it first. You're just asking for trouble. The goal here is to squash any potential bugs now, not in front of a growing line of people.
The Full System Test Run
Before those doors swing open, you have to do a complete, end-to-end test of the entire system. I'm not just talking about making sure the camera fires. You need to simulate the entire guest experience, from the first tap on the screen to the final print in their hand.
Walk up to your own booth like you're a guest seeing it for the first time.
- Start the experience. Tap the screen and run through the whole sequence. Does the countdown feel right? Are the instructions on the screen crystal clear?
- Take the shot. Listen for that satisfying click of the camera. Did the flash go off in perfect sync?
- Check the digital delivery. This is a big one. Test every sharing option you offer. Send a photo to your phone via SMS and another to your email. How fast did it arrive? Did your custom message and event hashtag show up correctly?
- Verify the print. This is your bread and butter. Make a print. Is the template aligned perfectly? Are the colors on point? Does it print without any hesitation or weird noises?
This one test run can save you from a world of hurt. You might discover that the venue's Wi-Fi is slowing down your digital shares or that your print template is off by a few millimeters.
My Personal Pre-Event Checklist
Over hundreds of events, I’ve built a non-negotiable checklist that I run through every single time. It's my secret weapon for staying organized and knowing I’m ready for whatever the night throws at me. This list lives in my gear bag, and I physically check off each item before I even think about calling the setup complete.
A Lesson Learned the Hard Way: I once worked an event where the venue's power outlets were so old and loose that my plugs kept falling out. It was a nightmare. Now, a roll of gaffer tape is the absolute first thing I pack. A small strip over the plug keeps it locked in all night.
Here’s a peek at my must-have checklist:
- Power Redundancy: Are all my extension cords plugged in tight and secured? Do I have extra, fully charged batteries for my flash?
- Connectivity Confirmed: Am I connected to the venue's Wi-Fi, and have I tested the speed? Is the password written down somewhere handy? Is my mobile hotspot fired up and ready as a backup?
- Supplies Stocked: Is the printer loaded with a fresh roll of paper and a new ribbon? Do I have at least one extra set of media within arm's reach?
- Props and Presentation: Are all the props clean and looking sharp? Is the prop table set up in a way that’s inviting, not a chaotic bottleneck?
- Safety and Tidiness: Are all my cables neatly taped down with gaffer tape? Is the area around the booth totally clear of tripping hazards like bags or cases?
Perfecting the Guest Experience
Once the technical side is locked down, it's time to put on your "guest goggles." A smooth, fun, and intuitive experience is what people remember and what gets you rebooked.
Think about traffic flow. You want your booth in a high-traffic spot—like near the bar or dance floor—but not somewhere that creates a traffic jam. Leave plenty of room for a line to form and for groups to gather without blocking a main walkway.
Your props need to be inviting. Don't just toss them in a bin. Arrange them on a table so people can easily see what they're working with. A well-organized prop station genuinely encourages people to get more creative.
Finally, if you have an attendant, give them a quick but solid briefing. They need to know how to guide guests, fix a simple paper jam, and answer common questions like, "How do I get my pictures?" A confident, friendly attendant is the final piece of the puzzle for a truly flawless photo booth.
Common Photo Booth Questions
Even after years in the business, you learn that every event brings its own unique quirks. But some questions pop up again and again, especially for people just getting their rigs set up. Knowing the answers to these common head-scratchers is what separates a smooth night from a stressful one.
Let's dive into a couple of the big ones I always get asked.
What If My Prints Look Bad?
This is the number one panic-inducer. You’ve done everything right, but the prints just look… off. Nine times out of ten, it’s one of two things.
If the colors are funky—especially skin tones looking too orange or blue—your white balance is the culprit. Don't rely on your camera's auto mode in a photo booth setting. The lighting is consistent, so your settings should be too. Set it to the "Flash" preset, and you'll get much more natural, consistent results all night long.
Blurry prints? Check your shutter speed first. Anything less than 1/125s is asking for trouble when people are moving around. But the real pro-move is to switch to manual focus. Have someone stand where your guests will be, lock in that focus, and then leave it alone. This stops the camera from "hunting" for a new focus with every shot, which is a major cause of blurry photos.
Takeaway Tip: A bad print is a wasted print. Before the first guest even steps up, run a full system check. Take a photo, send the digital copy to your phone, and print one out. Hold them side-by-side. If the color and sharpness don't match perfectly, you've got troubleshooting to do.
How Much Space Do I Really Need?
Event venues can be unpredictable, and floor space is often at a premium. I always tell planners to budget a 10×10 foot area for the booth. It sounds like a lot, but it's the sweet spot.
That gives you enough room for your backdrop and lighting, a small table for props, and most importantly, space for a queue to form without blocking a main walkway. That 10×10 footprint also ensures you can place the camera at the right distance to capture big, fun group shots without wide-angle distortion.
You can definitely squeeze into a smaller space if you have to, but things get tight fast. It’s always best to have this conversation with the venue coordinator well in advance. Knowing your spatial needs is also a key factor in figuring out what to charge, a topic you can dive deeper into by looking at the typical photo booth rental cost.
At 1021 Events, we’ve perfected the art of the photo booth, turning these setups into seamless, unforgettable experiences for any occasion. If you'd rather leave the technical details to the pros, check out our services to see how we can bring the fun to your next celebration at https://www.1021events.com.