

Let's be honest, the photo booth is usually where the magic happens at any party. It’s the spot for instant memories and non-stop laughter. But what really elevates it from just a fun activity to an unforgettable experience? The answer is custom DIY photo booth props. Making your own props is an absolute game-changer, and it's way better than just grabbing a generic pack from the store.
Why DIY Props Make Your Party Unforgettable
Think about it: props that perfectly match your wedding colors, or a set of signs that reference hilarious inside jokes at a birthday party. When you make your own, you're injecting a personal touch that truly captures the vibe of your event. This isn't about being a master crafter; it's about creating fun conversation starters that get people to relax, mingle, and snap some truly memorable pictures.
Beyond the Store-Bought Mustache
Sure, those pre-made prop kits are easy, but they feel a little… generic, don't they? When you take the time to create your own, you can get specific and tailor every single detail to the occasion.
- Make It Personal: Think names of the happy couple, the graduation year, or the birthday person’s new age splashed across a prop.
- Keep It Thematic: You can make sure every prop, from silly hats to speech bubbles, fits your party's theme perfectly, whether it’s a rad 80s night or a glitzy Great Gatsby gala.
- Share an Inside Joke: Nothing gets a group laughing faster than a prop only they will get. It's a great way to make everyone feel like part of the inner circle.
This kind of customization is exactly why photo booths have become such a party staple. The global photo booth market was valued at a whopping USD 585 million in 2024 and it's only expected to keep growing. That number shows just how much people love these interactive experiences, and props are a huge piece of that puzzle.
The real magic of DIY props is turning a fun activity into a meaningful, personalized experience. Guests don't just grab a prop; they grab a piece of the story you're telling with your event.
Making the props can even be a fun pre-party activity, and it's often way more budget-friendly than you'd think. Plus, it fits right into the bigger picture of creating a standout event for your guests. If you need more inspiration, check out our guide on unique birthday party entertainment ideas to see how a killer DIY photo booth can be the star of the show.
Getting Your DIY Toolkit Ready
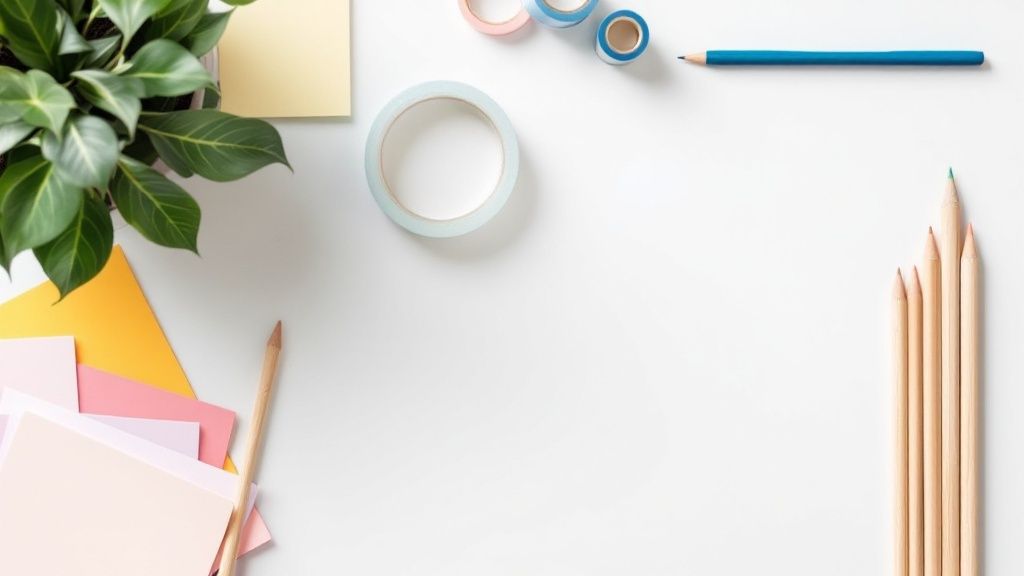
Before you start cutting and gluing, let's talk supplies. The great thing about making your own photo booth props is that you don't need a professional craft room. Honestly, you probably have half of this stuff hiding in a junk drawer right now.
The foundation of any good prop is the paper. To avoid sad, floppy props that bend mid-snapshot, you need something with a bit of backbone. Heavy cardstock is your best bet—I'd recommend at least 80 lb, but if you can find 110 lb, even better. It’s tough enough to hold its shape but still easy to work with.
For cutting out your awesome designs, a sharp pair of scissors will handle the simple stuff just fine. But if you're tackling more detailed shapes, a craft knife (like an X-Acto) and a self-healing cutting mat are a game-changer. They're the secret to getting those super crisp, professional-looking edges.
So, What Do You Actually Need?
Okay, let's get down to the must-haves. You really can’t get the show on the road without these basics, so double-check your stash before you begin.
-
Something to stick it all together: A hot glue gun is the undisputed champion here. It creates a solid bond that dries fast and can survive even the most enthusiastic photo session. For layering paper details, a regular glue stick or craft glue works perfectly.
-
Handles for holding: Your guests need something to grab onto! Thin wooden dowels are a classic choice. You can also use bamboo skewers (just snip the pointy end off!) or even fun, decorative paper straws for a pop of color.
-
A decent printer: If you're using printable templates, this is a big one. Nothing's worse than running out of cyan ink halfway through printing your masterpiece. Check your ink levels before you hit "print"!
If I can give you one piece of advice, it's this: don't skimp on the cardstock or the glue. A sturdy paper and a strong adhesive like hot glue are the magic combo for props that last all night.
To help you figure out what to grab from the craft store, I've put together a quick checklist. It separates the absolute essentials from the fun extras that can take your props to the next level.
Your DIY Prop Supply Checklist
| Essential Supplies (Must-Haves) | Optional Supplies (Nice-to-Haves) | Best For |
|---|---|---|
| Heavy Cardstock (80-110 lb) | Glitter, sequins, or rhinestones | Adding sparkle and texture |
| Hot Glue Gun & Glue Sticks | Washi tape or decorative tape | Securing sticks with extra flair |
| Scissors & Craft Knife | Craft punches (various shapes) | Creating quick, uniform shapes |
| Wooden Dowels or Paper Straws | Ribbon or tassels | Decorating the prop handles |
| Color Printer & Ink | Foam board | Creating larger, more rigid props |
Think of the "Optional" column as your creative playground. Once you have the basics down, these are the little touches that make your props uniquely yours.
A tidy workspace makes the whole process way more fun and less chaotic. If your craft corner looks like a glitter bomb went off, check out these tips to organize craft supplies like a pro. And if you're looking for a spark of inspiration on what to make, you’ll love these fun photo booth props.
Finding and Designing Your Prop Ideas
Alright, this is where the fun really begins. The first, and most important, step is to nail down the theme for your event. Is it a roaring twenties gala, a tropical luau, or a superhero birthday bash?
Let that theme be your North Star. If it’s a wedding, think about signs with the date or classic "Mr. & Mrs." titles. For a graduation party, you could craft some awesome diploma props, custom school pennants, or even speech bubbles with inside jokes about future plans. The more personal you make the props, the bigger the hit they'll be.
And don't worry, you don’t need to be a professional artist to pull this off. The internet is overflowing with fantastic, ready-to-use templates—many of them completely free. Websites like Pinterest and countless craft blogs are goldmines for printable designs.
Sourcing Your Designs
As you start hunting for templates, keep one thing in mind: how will this look on camera? Simple, bold shapes almost always make a bigger impact than something with tons of tiny details. A big, chunky cartoon mustache is way easier to spot in a chaotic group photo than a finely drawn one.
Feeling a bit more ambitious? You can even tap into AI for image generation to brainstorm some truly out-there concepts that you can then sketch out yourself.
Pro Tip: Always download high-resolution files. Look for PDFs or images with at least 300 DPI (dots per inch). This is the secret to getting crisp, clear props instead of blurry, pixelated messes.
Design Tips for Camera-Ready Props
Once you have your designs, a few simple tweaks can make them really pop in photos. The goal is to create props that stand out and don't just blend into someone's shirt or the backdrop.
Here are a few of my favorite tricks:
- Bold Outlines: After printing, trace around the edges with a thick black marker. It adds definition and makes the shape instantly more visible from a distance.
- High-Contrast Colors: Pick colors that fight for attention. We’re talking bright yellows, vibrant reds, and deep blues. Avoid putting similar muted tones right next to each other.
- Go Matte: Always print on matte or semi-gloss paper, never high-gloss. This one small change prevents the camera flash from creating a nasty glare that can ruin a great shot.
With a solid theme and a handful of great designs, you're well on your way. If you need more inspiration to get the creative juices flowing, take a peek at our list of awesome photo booth ideas for parties.
Putting It All Together: A Practical Guide
Okay, you've got your designs printed and all your supplies laid out. Now for the fun part—actually making the props! Let's get these things assembled and ready for their photo-op debut.
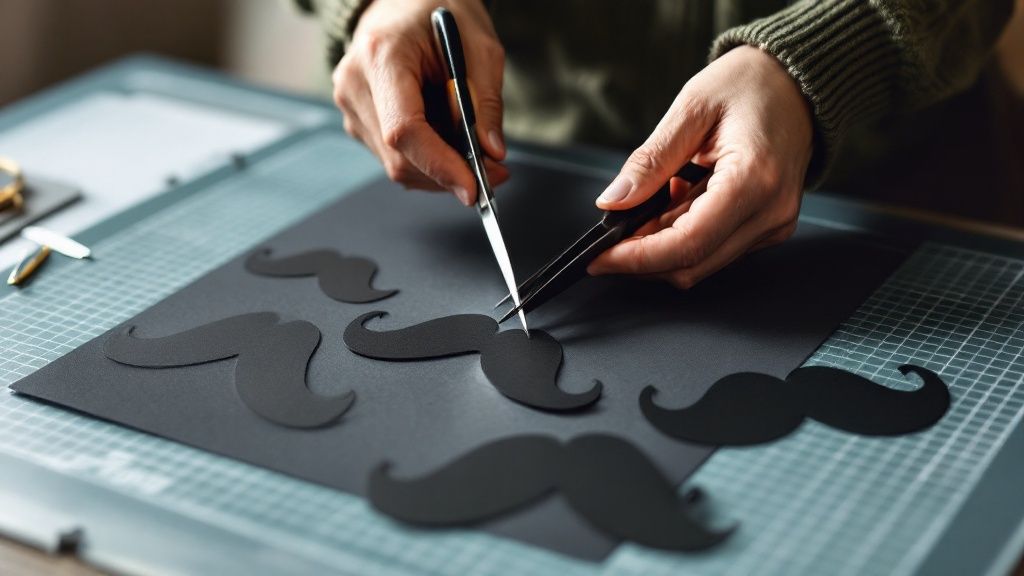
First up, cutting everything out. For basic shapes like squares or circles, a sharp pair of scissors works perfectly. No need to overcomplicate things.
But what about those trickier designs? For anything with tight corners or intricate curves, a craft knife is going to be your best friend. Just make sure you're working on a self-healing cutting mat to protect your tabletop (and your sanity). The key here is to go slow. Let the blade do the cutting with light, steady pressure. Rushing is how you get jagged edges, and nobody wants that.
Making Sure the Sticks Stay Put
This is probably the most important step. A prop that flops over halfway through the party is a definite photo booth fail. We need these things to be sturdy enough to handle some enthusiastic posing.
For this job, a hot glue gun is the undisputed king. It creates a really strong bond and dries super fast.
Just run a solid line of hot glue down the back of your cutout and press the wooden dowel or paper straw right into it. Hold it for a few seconds until it sets. If you want some extra insurance—and I always recommend it—you can glue a small piece of cardstock over the dowel or even wrap it with some decorative washi tape. It’s a tiny step that makes a huge difference in durability.
The real test of a DIY prop is whether it survives the entire party. A secure hot glue bond is the difference between a prop that lasts for one photo and one that makes it to the final dance.
This image breaks down the whole process, giving you a quick visual rundown of how it all comes together.
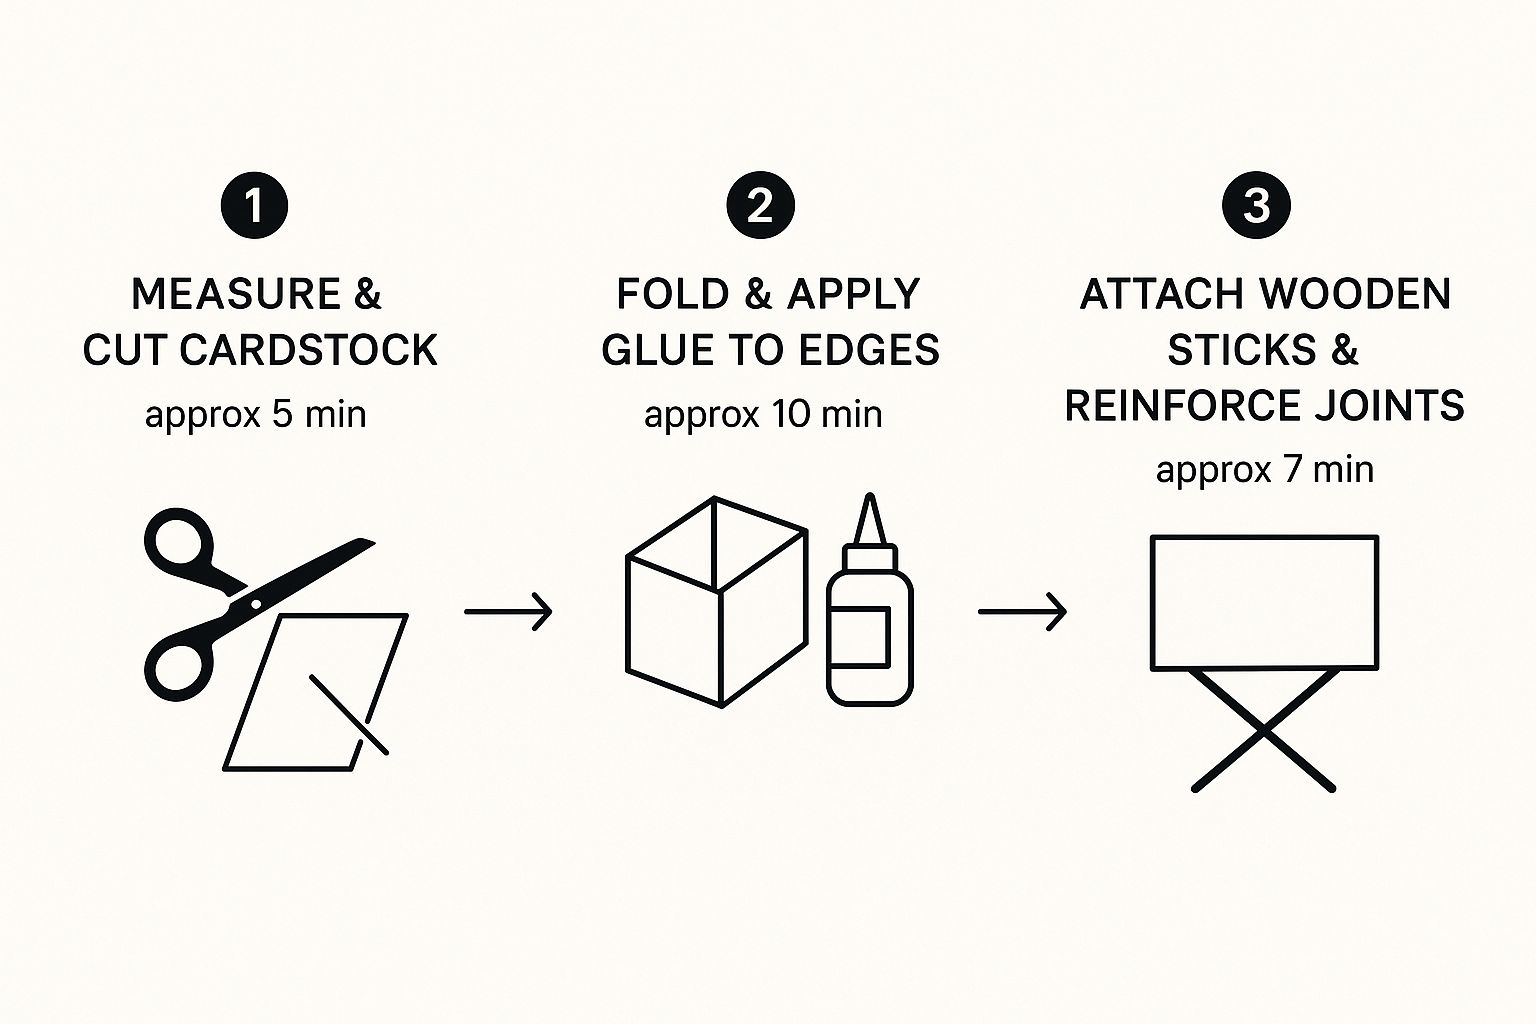
As you can see, spending a little extra time on gluing and reinforcing is what really makes your props party-proof.
Time to Add Some Flair
With the basic assembly done, it's time to get creative. This is where your photo booth props diy project really comes to life and shows off your personal style. A few simple additions can take your props from good to great.
Here are a few ideas I love:
- Go for the glitter: Grab a fine-tipped glue pen, trace a few details, and sprinkle on some glitter. Instant glam.
- Add some movement: Tying a few colorful ribbons or tiny tassels to the sticks gives the props a fun, festive vibe.
- Create a 3D effect: Use foam dots to layer smaller cardstock pieces on top of your main design. This adds depth and makes certain elements pop right out.
Don't hold back! Mix in different textures and fun embellishments. It's these final touches that turn simple cutouts into awesome, memorable props for your event.
Prop Inspiration for Every Occasion
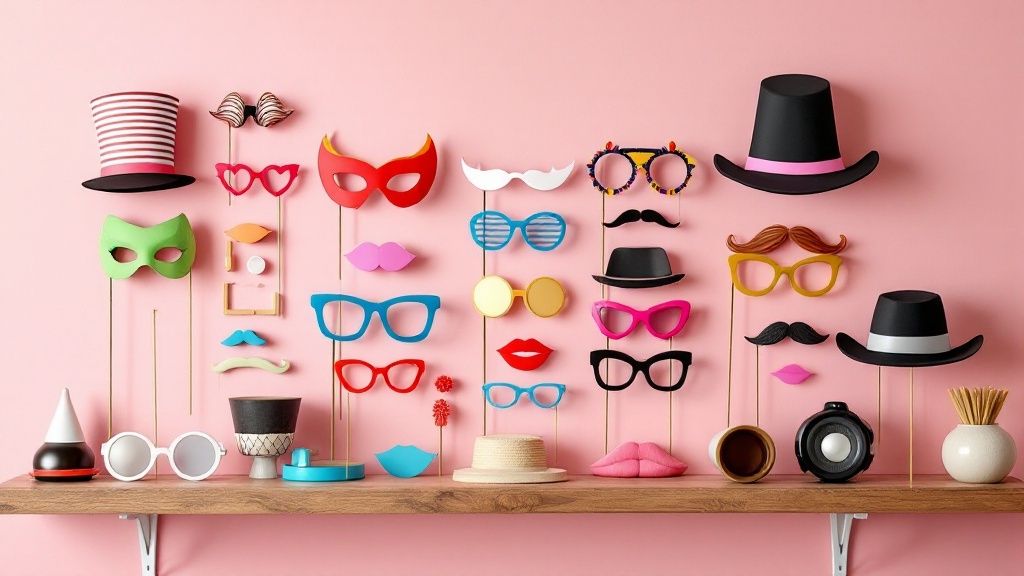
It’s so easy to get stuck in a creative rut, right? We all tend to grab the same old oversized glasses and fake mustaches. But the best photo booth props diy projects are the ones that actually tell a story about your event.
Let's think beyond the basics for a minute. For a wedding, instead of just generic hearts, why not craft custom signs with the wedding date, the couple's new last name, or a funny inside joke about marriage? Birthday parties are the perfect time to get personal—make props that show off the guest of honor’s hobbies, like a video game controller, a football, or a paintbrush.
The time of year is also a huge well of inspiration. Photo booth popularity often follows seasonal trends, which you can totally use to your advantage. For instance, search interest tends to spike in the summer for weddings and in the spring for graduations, so your props can reflect that vibe. Want to dive deeper? You can discover more about these seasonal photo booth trends.
Ideas Tailored to Your Theme
Okay, let's break down some specific ideas to get your own creativity going. Don't be afraid to mix and match these concepts to really nail the unique vibe of your celebration.
- Holiday Parties: Go all-in! Think Santa beards and reindeer antlers for Christmas, or spooky ghosts and witch hats for Halloween.
- Summer Festivals: You can't go wrong with flower crowns, peace signs, and colorful sunglasses for that fun, bohemian feel.
- Winter Gatherings: Aim for cozy. Create props like mugs of hot cocoa, knitted scarves, and delicate snowflake cutouts.
The most memorable props are often the simplest ones. I've found that a well-designed speech bubble with a funny, relevant quote gets way more laughs and shares than some overly complex design nobody understands.
By tailoring your props, you're doing more than just providing a fun activity; you're actually weaving the photo booth right into the theme of your party. For even more ways to make your event unforgettable, check out our complete guide to amazing photo booth props.
Got Questions About Your DIY Photo Booth Props? We've Got Answers
Jumping into any new craft project is exciting, but it almost always comes with a few questions. Don't worry, that's completely normal! We've pulled together some of the most common questions people ask when making their own photo booth props to make sure you get fantastic results.
What’s the Best Material to Make Props Last?
If you want props that can survive a whole night of fun, you need to think about durability. I always reach for thick cardstock—we're talking at least 110 lb weight—or even better, foam board.
For the ultimate tough-as-nails prop, try this pro-tip: print your design on cardstock and then mount it directly onto a foam board backing. This combination gives you a crisp, clean image with a super sturdy structure that won’t get bent or broken after a few uses.
How Can I Make Sure My Props Look Great in Pictures?
Ever seen a photo where the props look washed out or have a weird glare? It's a common problem, but an easy one to fix.
Always use matte or non-glossy paper for your prints. This simple switch completely eliminates that annoying glare from the camera flash. Also, think bold! High-contrast colors and thick, dark outlines make your designs really stand out. Simple, iconic shapes almost always photograph better than designs with a ton of tiny, intricate details.
A hot glue gun is your best friend here. It creates a strong, quick-drying bond that can handle all the grabbing and posing. For a little extra insurance, I like to pop a small piece of tape over the spot where the stick is glued down once it's completely dry.
Getting the props right is a huge part of the fun, but so is building the entire experience. To take the next step, check out our complete guide on how to create a photo booth from the ground up.

